Mounting hardware is included:
(4) u-bolts; (8) 2¼" screws; (8) 1¼" screws; (2) 9/16" screws; (2) 5/16" machine screws; (2) 5/16" sheet metal screws; (8) washers; (8) wall spacers for 2¼" screws (beige); (8) wall spacers for 1¼" screws (green). Location of Sensors
- It is easiest to locate sensors while the receiver and sensors are in the test mode. Mount only after good reception is achieved in desired location. Be sure the receiver can pick up the signals from different locations if desired.
- One method of leveling the sensor is as follows: Position sensor in desired location. Take off cover. Fill the "T"-shaped depression in the base with water. The rain gauge is level when all three water levels are equal. Be sure to replace cover correctly with magnets facing each other.
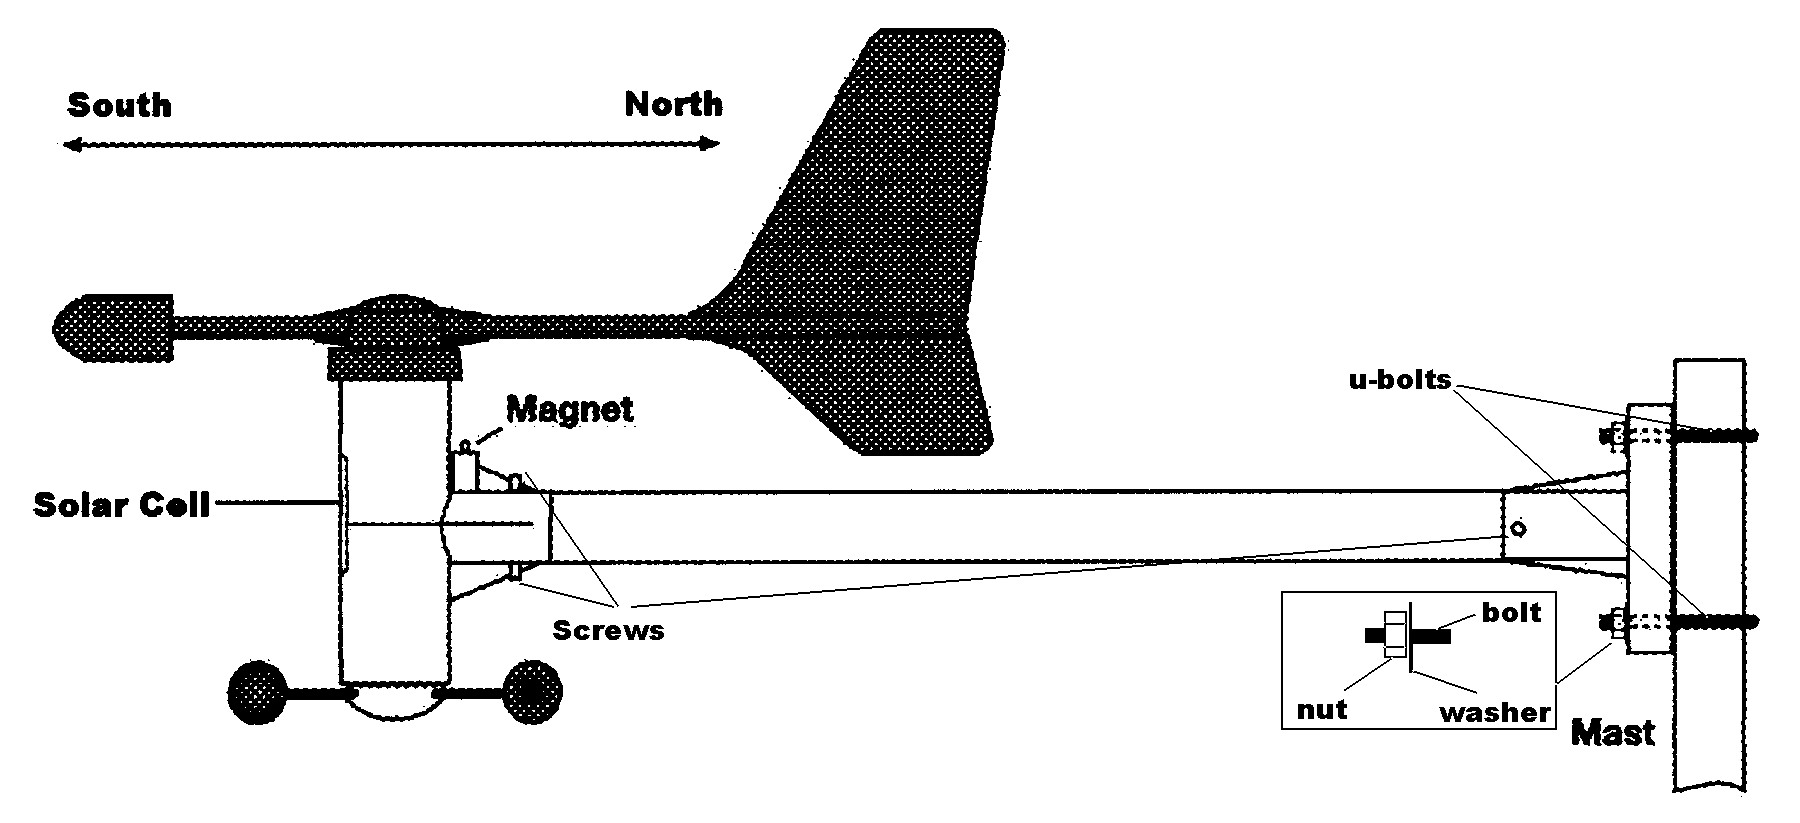 Wind Sensor Mounting